Screen capture tools are vital if you spend any amount of time working on a computer.
Now, maybe you’re “just” a recreational user. Screen capture tools are still important for you.
What do you do if you need to include images when reporting a software problem? Or how about explaining to a friend, long-distance, how to do something on their computer?
If you have an online business, then screen capture tools are even more important!
You want to include images on your website. Maybe you even want to provide instructions or a How-To tutorial on your site.
Decent screen capture tools can make the whole process smooth and effortless.
Using Screen Catpure Tools
Built-ins
In this article, I’m focusing on Windows screen capture tools.
If you’re using a Mac then you already have some main keyboard shortcuts available:
- Cmd+Shift+3 for the whole screen
- Cmd+Shift+4 for a region
- Cmd+Shift+5 to use the screenshot utility
- Cmd+Shift+6 to capture what’s on your Touch Bar
Windows also has built-in keyboard shortcuts. You can use Snip & Sketch (previously known as Snipping Tool) for very basic screen capture.
And there’s always the default Print Screen that will save directly to the clipboard. PrtScn captures everything on the screen while Alt+PrtScn grabs the active window.
Better usability
The built-in functionality is fine for quick screen grabs. But, often, you need something more versatile.
Outside of a basic screen grab, there are two features you really want.
1. Annotations
Annotations are simply edits – different ways you can add information to an image. From adding simple text to masking (blurring) personal information.
2. Scrolling browser page
Sometimes you want an image of a browser page. But even if you zoom out, it’s hard to get everything you want in a single screen capture. At least, if you want it to be large enough to see.
Now there are screen capture tools with the ability to grab an image of a scrolling window. Instead of you taking multiple screenshots and stitching them together!
You can use two different FREE screen capture tools to give you the flexibility and the features you need.
I’ve included video tutorials of both tools. Jump to the bottom if you just want to see how they work. 🙂
Awesome Screenshot
1. Awesome Screenshot is a Google Chrome extension. So, of course, you need to be using the Chrome browser.
2. Customized keyboard shortcuts so you can quickly grab an image.
3. Lots of annotation/editing options: highlight, mask (blur), add text, add shapes, change editing colours, crop, etc.
4. A lot of options to share your captures quickly online.
5. Ability to capture scrolling browser pages in one image. This is the KEY feature for me!
6. Awesome Screenshot also has a screen recording feature. The resolution is decent and it’s easy to use. However, you’re limited to 30 seconds of recording. I just use Loom instead as they also have a free option and they allow unlimited video length. 😎
Greenshot
Greenshot is pretty low-key. In fact, visiting their website does not do justice to the software.
Greenshot is fast and intuitive. But also has the features you need to get the job done.
What you get:
1. Greenshot is a Windows download so the software is always available to you, even without an internet connection.
2. Customized keyboard shortcuts so you can quickly grab an image.
3. Lots of annotation/editing options: add shapes/lines, add text/speech bubbles, add step counters, highlight, mask (obfuscate), edit colours, crop/rotate/resize, add special effects, etc.
4. Options for direct sharing with Microsoft Office tools and some others.
5. Update your preferences so every screengrab is automatically saved. I love having a “library” of captured images.
6. Allows you to capture menu drop-downs in your image.
Why do I recommend using BOTH tools?
I’m suggesting you use both tools as neither of them can do everything. But combined, you have a lot of features and yet they’re still free.
How do I decide which to use?
If I need a scrolling browser page screen grab, then the only choice is Awesome Screenshot. Also, I’ll often choose it if I want to save directly to my cloud storage quickly.
If I need to capture menu drop-downs then Greenshot is the only choice. Also, I love that Greenshot keeps a copy of all my captures for later use.
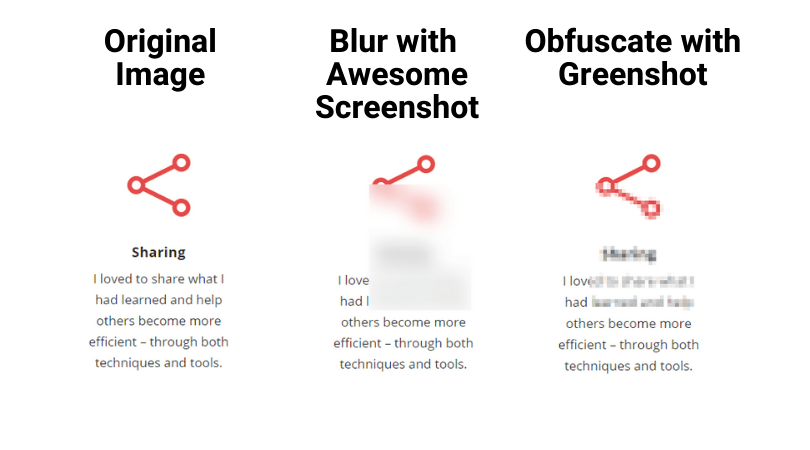
One other factor is masking. The two tools mask information in a slightly different way. Greenshot uses a pixellated mask while Awesome Screenshot uses a more consistent blurred mask. Different approaches work better for different purposes. It’s nice to have those options.
Installation
Awesome Screenshot
- From a Google Chrome browser, search for Awesome Screenshot on the Chrome extension webstore
- Next to the extension, click “+ ADD TO CHROME.” Be careful to choose the extension and not the App.
- On the pop-up confirmation (warning you about the abilities of the extension), click “Add extension”
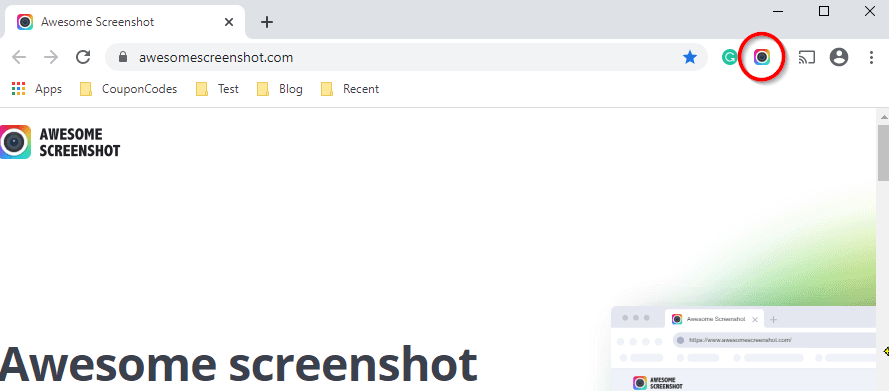
- Then you’ll see the Chrome extension icon in the upper right of your browser
Greenshot
- From the Greenshot site, click the “DOWNLOAD NOW” button: https://getgreenshot.org/
- Click the “LATEST STABLE” button on the next page displayed (you’ll see Windows is free but the Mac version is not)
- Save the file on your computer and then double-click it to run the installation
- Choose your language, accept the license agreement, click “Next >” through all the default displays, then click “Install”
Screen Capture Customization
Awesome Screenshot
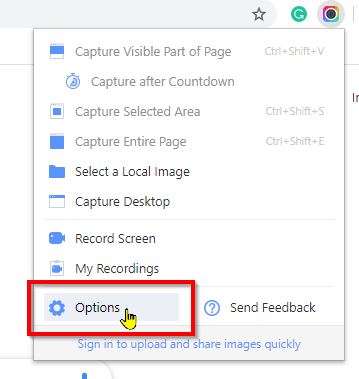
Take a moment after installation to change your keyboard shortcuts to ensure they’re unique. The shortcuts are displayed when you click on the icon and you can edit them by clicking “Options.”
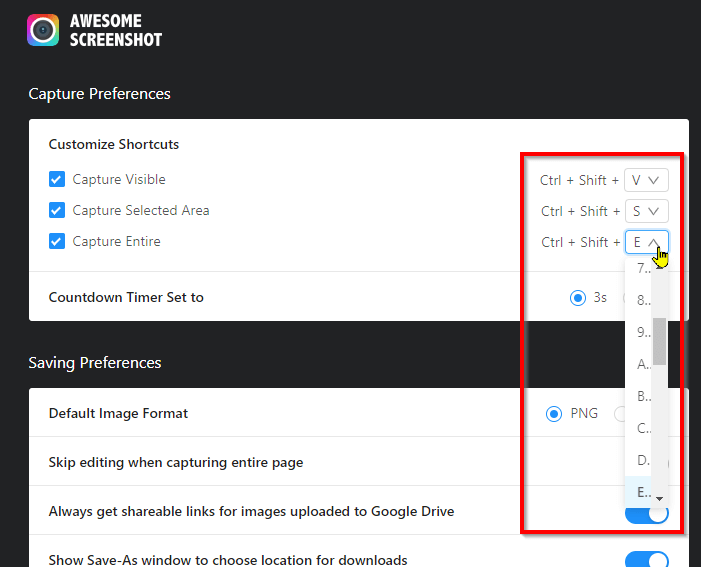
From the Options screen, click the down arrow next to a shortcut you want to change. Then select your desired shortcut key. You’ll notice you can’t change the prefix: Ctrl+Shift.
Greenshot
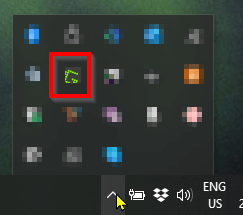
During installation, if you selected the check box to start Greenshot on Windows start then Greenshot will already be in your system tray. Right-click the icon in the system tray and select “Preferences.”
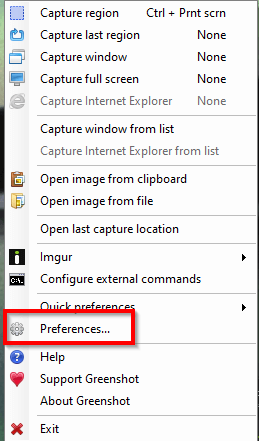
Confirm your settings in a few different tabs:
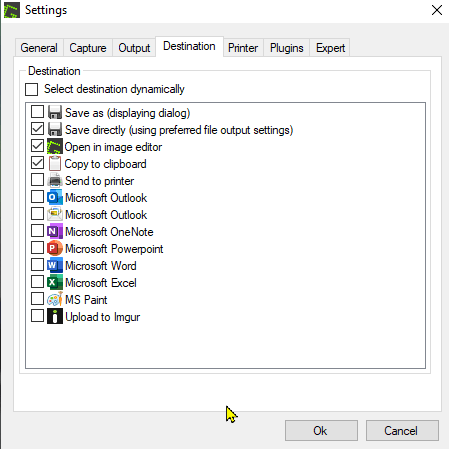
1. Destination
Check the boxes for the specific options you want. I have three selections (see below) I like – the “Save directly (using preferred file output settings)” is the one that ensure EVERY screen grab is saved.
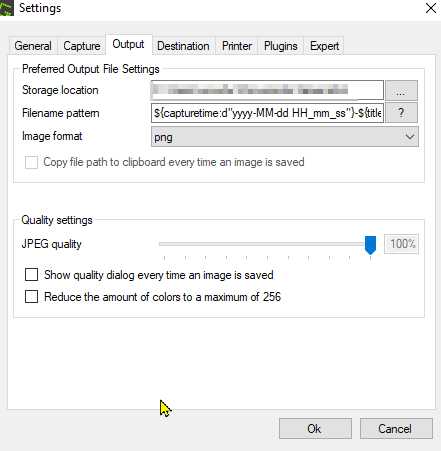
2. Output
At a minimum, confirm the “Storage location.” This is where all the screen grabs will be saved.
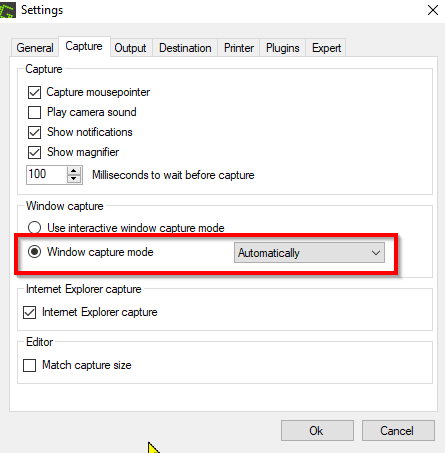
3. Capture
I recommend you choose the “Automatically” selection for “Window capture mode.”
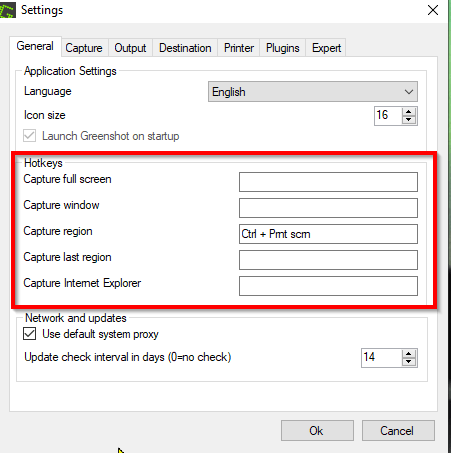
4. General
And enter the keyboard shortcuts you prefer in the “Hotkeys” section. Click your cursor within one of the Hotkeys fields. Then when you activate a keyboard key, you’ll see that displayed in the field. Just be careful to avoid any keyboard shortcuts already in use.
Annotations with Screen Capture Tools
Awesome Screenshot Features
Greenshot Features
Use Both for Full Features
You don’t have to struggle with basic screen capture tools. You DO have free options that will work for you.
If you watched the videos above then you’ve seen how easy these tools can be. Personally, I use both of them – just for different purposes.
My go-to favourite is Greenshot. It’s just so quick and easy to use. And you can quickly mark-up whatever is necessary.
But Awesome Screenshot is the tool to use for scrolling webpage captures. Super easy, super fast. Perfect.
You’ll want to customize your keyboard shortcuts. That will make them even easier to activate.
There are other screen capture tools available. And some of those are even free. However, with the combination of these two, you have everything you need!
Like This Post? Put a Pin On It!

Did you find this article useful and helpful?
Share this WOWIT post on social media!
Have some suggestions of your own?
Click the Submit Comment button below to let us know!
Want More?
Would you like to learn more about this topic? Or perhaps explore some other topics? Choose from one of the categories below to see more:
Subscribe to our newsletter to have information delivered right to your inbox.