What do you do if you need to change the size of an image? We describe the benefits of using GIMP to manipulate images.
There is a lot of software available for free that you can use to work with images. If you only need to crop an image. But what if you need the entire image maintained but in a smaller size?
Another challenge you may have is when you need an image to be exactly a certain size. So maybe you have an image you like but it’s too small for the purpose. How can you make it larger, with the exact dimensions you want, without destroying the clarity of the image?
We’ve been using the GIMP software for all of this!
Information:
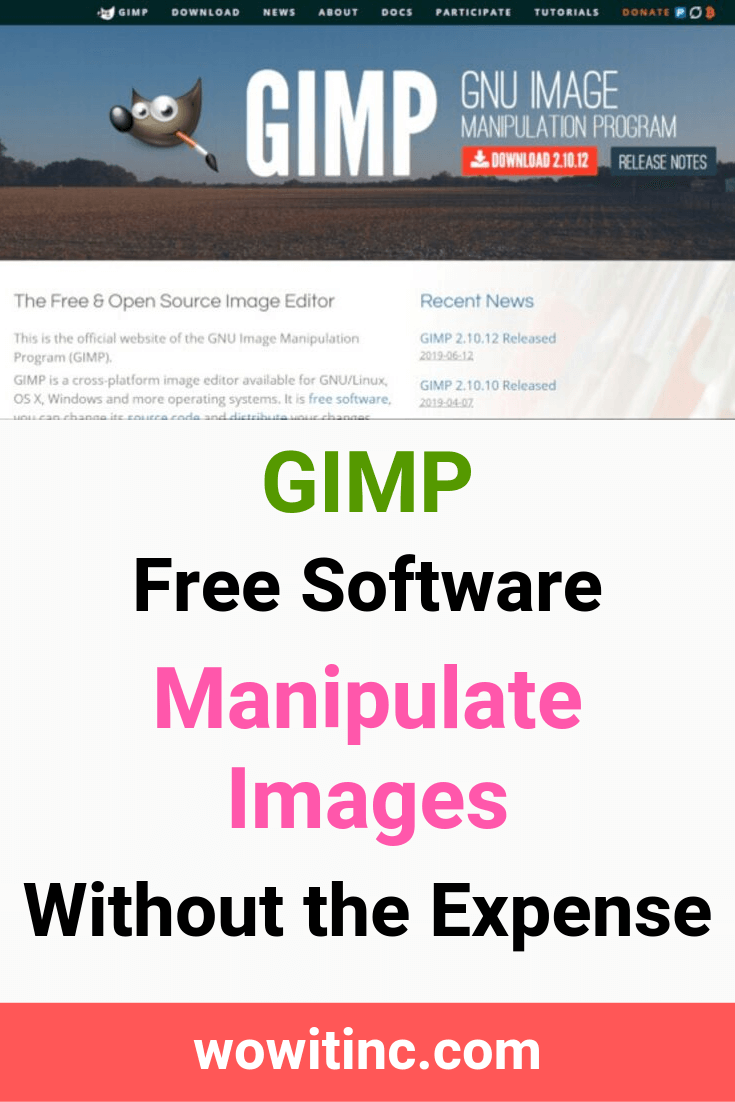
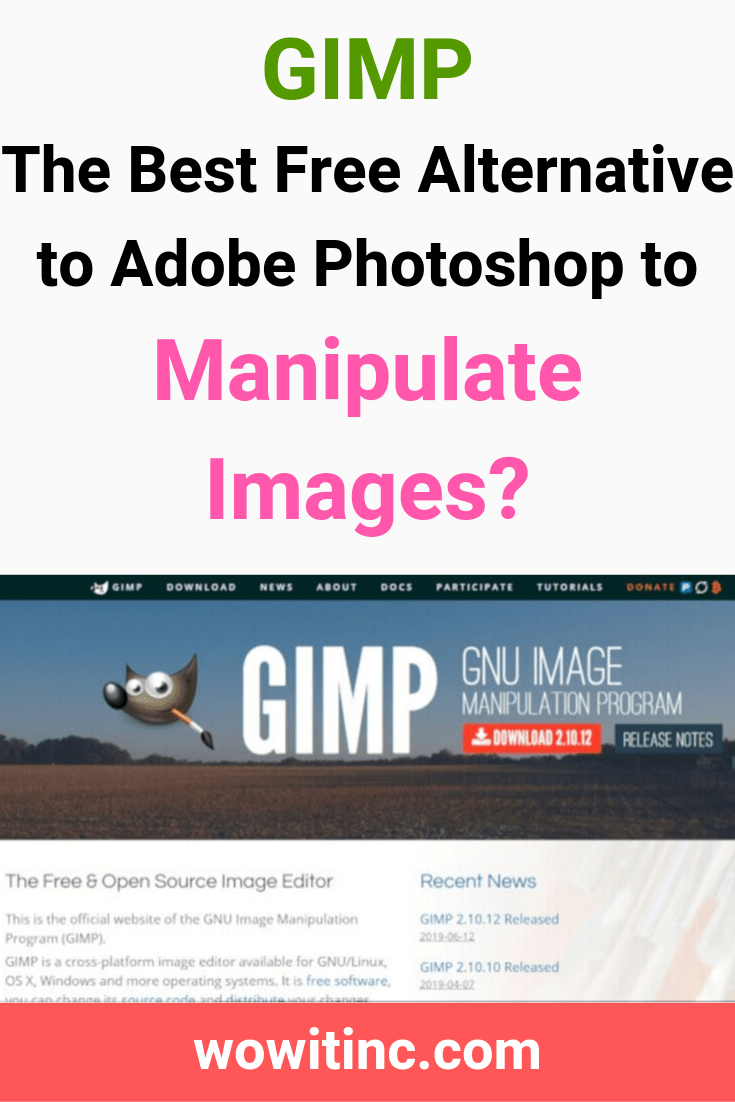
GIMP stands for GNU Image Manipulation Program. It’s free software and it’s also open source. And, as the name implies, GIMP is specifically designed to manipulate images.
Open source means the code used to create the program is available for everyone to see. And anyone can modify the code so you can have a lot of people contributing to making the code better.
GIMP can be used on multiple platforms to manipulate your images. You can download versions for Windows, iOS (Apple), Linux, and more.
We use GIMP mostly for scaling images to particular dimensions. Scaling an image is basically resizing it. You adjust the pixels to produce an image that fits your purpose. We usually want to scale an image and maintain the aspect ratio. That means we don’t want the image stretched or squished.
We also sometimes crop an image. Cropping is simply removing part of an image to focus on a particular area instead.
GIMP also has other features to manipulate images:
- Selection tools – rectangular, circular, freehand, and fuzzy select (magic wand)
- Editing tools:
- Common – paint brush, pencil, airbrush, eraser, ink, bucket fill, and blending
- Smart tools (more complex) – cloning, healing, blurring, sharpening, smudging, and dodge and burn
- Layering tools – stacking images and backgrounds
- Colour management – palettes, eyedropper, and other colour selection methods
- Automation tools – many different effects and filters plus support for automated scripting languages
Many of the features in GIMP are for advanced, complex image manipulation. Our needs are far more basic and we expect yours are too. But GIMP provides what you need in a free format.
Download:
You’ll find GIMP on their main site:
- Go to www.gimp.org and click the main, red, download button
- You’ll be taken to the download page where you should select your operating system from the list, “Show downloads for GNU/Linux | OS X | Microsoft Windows | All”
- Once selected, confirm the title on the next line reflects what you chose. For example, we chose Windows so the next line displays “GIMP for Windows.” If you chose OS X then the next line would change to “GIMP for macOS.”
- Now click one of the download buttons. We chose the direct route, not BitTorrent.
- Save the executable file (file extension .exe) to a location on your computer.
- Then run that executable and follow the installation prompts.
We recommend you bookmark the User Manual. You can find that under the “DOCS” navigation menu in multiple languages.
There are also tutorials for various topics available under the “TUTORIALS” navigation menu. We found everything we needed in the “Beginner” section of the tutorials. Specifically, the sections “GIMP Quickies”, “Simple Floating Logo”, and “Making a Circle-Shaped Image.”
Customisation:
We did not perform any type of customisation whatsoever. But you may feel differently.
A few areas you may want to review for your own customisation:
- Edit -> Preferences – you can modify the default settings for many areas: colours, tool options, toolbox, tiling, and more
- Windows -> Dockable Dialogs – modify the location and visibility of the application tools on the screen
- Windows -> Tabs Position – change where the thumbnail images will appear (those images you’ve opened)
How does it work?
Normally, we would provide some “how to” information here – just a bit of explanation about how to use the tool.
However, the GIMP website provides pretty good tutorials and an outstanding User Manual online. So we won’t attempt to reinvent that. We do strongly urge you to bookmark the User Manual. It’s an excellent reference: https://docs.gimp.org/2.10/en/.
We do want to provide some tips on which sections to review in that User Manual, because it’s huge! It’s divided into three sections:
- Section I. Getting Started
- Section II. How do I Become a GIMP Wizard?
- Section III. Function Reference.
As you might expect, we recommend focusing on the Getting Started section. The Basic Concepts section (under Section I. Getting Started, 3. First Steps with Wilber, 1. Basic Concepts) helps you understand the terminology used in the software. We found the layers concept to be particularly important to understand.
The section we spent the most time in was Common Tasks (under Section I. Getting Started, 3. First Steps with Wilber, 4. Common Tasks). This gave us the basic knowledge to feel comfortable with the tool. Plus, the User Manual has really great images to demonstrate the concepts.
Usability:
Using GIMP to manipulate images was not exactly straight forward for us. We did not have any prior experience with Adobe Photoshop or any other editors of that type.
We felt fairly comfortable with the most basic task of scaling an image. However, we had some difficulty trying to scale an image to exactly the dimensions we needed while still maintaining the aspect ratio.
That’s when we went back and spent more time with the User Manual. Our final strategy, that works for us every time, was to use layers. We resize an image to the maximum of one of the dimensions we required. Then we layer that resized image onto a layer that was exactly the correct dimension.
Becoming comfortable with GIMP took some effort. But it’s one of the few free tools that could do the tasks we needed. We think it’s worth the effort.
Support:
GIMP does not provide a direct means of contact. However, they do provide substantial documentation:
- User Manual – a large, well-written, online manual with lots of screenshots to demonstrate different tasks
- Tutorials – a collection of walkthroughs for specific tasks, again with lots of screenshots and good explanations
- Online searches – as expected, you can also use your favourite internet search engine to hunt down other hints and tips
Like this post? Put a Pin on it!
Want More?
Would you like to learn more about this topic? Or perhaps explore some other topics? Choose from one of the categories below to see more:
Subscribe to our newsletter to have information delivered right to your inbox.
Summary:
There are other image editors available. And some of them are free.
However, using GIMP to manipulate files doesn’t just cover the basics. GIMP provides you with a platform on which you can grow and learn. It covers the basics but you can also perform very complex tasks and take your image editing to a whole new level.
We were surprised to find such a broad scope of features available in a free tool. We wholeheartedly recommend this tool and we love that it’s still free!
Have you tried this application?
What were your experiences?
Do you agree with this evaluation or have some suggestions of your own?
Click [Submit Comment] below to let us know!